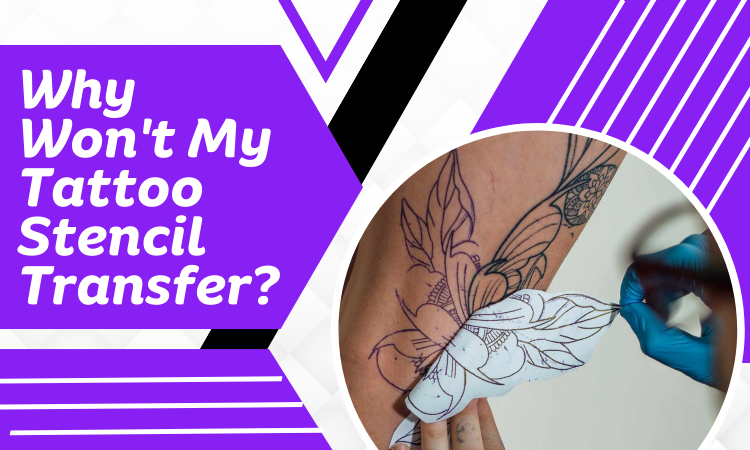
Why Won’t My Tattoo Stencil Transfer? Reasons And Solutions!
Skin preparation is the most probable reason behind tattoo stencils not transferring. Also, you need to be aware of what kind of stencil transfer solution you’re using.
In most cases, you need to use a proper stencil paper that is not too thick or too thin. But do make sure that the stencil paper or solution is of good quality and would fit your skin.
Above all, while applying be careful and follow all the steps in a proper way.
Don’t get overwhelmed as we’ll guide you down by answering your question, “Why Won’t My Tattoo Stencil Transfer”. Keep on reading.
Key Takeaways
- Tattoo stencils guide artists and they include paper, printer/carbon, and solution for skin transfer.
- Prepare skin, and choose the proper and best solution, paper, and technique for successful stencil transfer avoiding issues.
- Mix green soap and distilled water, and pour into a sterilized bottle for a homemade transfer solution.
Tattoo Stencil And Its Components
Tattoo stencils are really important when getting a tattoo. They’re like a tattoo artist’s guide. They show the design clearly on your skin before the actual inking.
This helps the tattoo artist do a precise and accurate job. Here’s a list of the tattoo stencil components:
- Stencil Paper: This special paper is used to create tattoo stencils. It’s thin and see-through, so the artist can transfer the design onto your skin easily.
- Thermal Printer/Carbon Paper: These are used to move the design from the stencil paper to your skin. They make a temporary outline for the artist to follow while doing the real tattoo.
- Transfer Solution: This liquid makes the thermal printer or carbon paperwork. It helps the design transfer neatly and accurately onto your skin.
Tattoo Stencil Not Transferring: Common Problems And Solutions
Tattooing is an art form that requires a lot of practice and focus. One of the main reasons for a failed stencil transfer to the skin is your amateur hand. So, let’s get down to the reasons and ways you can fix this when transferring tattoo stencils.
| Problems | Causes | Solutions |
| Skin Preparation Issues | Skin is too wet. Skin is not wet enough. Skin is too stretched. Skin is not shaved. | Properly prepare the skin. Don’t stretch the skin. |
| Stencil Solution Issue | The transfer solution dries off too quickly. The solution is too wet. | Use proper stencil solution. Make your own solution. |
| Stencil Paper Issue | The wrong stencil paper won’t transfer. Not dry enough to stick. | Use proper transfer paper for a smooth transfer. |
| Material Type Issue | Low-quality stencil paper. Expired or inadequate transfer solution. Poor quality thermal printer/carbon paper. | Invest in good-quality stencil paper Use fresh and suitable transfer solutionInvest in a good thermal printer or carbon paper. |
| Application Technique Issue | Stencil placement and alignment error. Inadequate pressure application. Using improper transfer solution. | Take time to place the stencil. Press the stencil down firmly and evenly. Choose a high-quality transfer solution |
Problem 1: Skin Preparation Issues
The first concern for tattoo art is proper skin preparation. The tattoo is gonna be stenciled on the skin after all.
Different people have different skin characteristics. So, you need to expert yourself on the stencil transfer application on various skin. Let’s see the reasons behind skin issues and how to fix them.
Reason
- When the skin is too dry, the stencil won’t transfer and wipe off.
- Again, over-wet skin also won’t hold the stencil leading to a failed transfer.
- Improperly shaved skin holds little portions of hair which obstructs the stencil transfer.
- If the skin is too stretched, it will create a stencil tension resulting in another failed stencil transfer.
Solution
For a smooth tattoo stencil transfer to the skin, you must first prepare and clean the skin. So, let’s see how to prepare skin for stencil paper transfer.
Step 1: First, clean the selected skin area with soap and water. You can use green soap or Dettol for this. Remove any portion of lotion, makeup, or oil from the skin’s surface.
Step 2: Now, shave the selected area of the skin properly but you should not shave too close to the skin. If you do it may lead to infection risk and a slow healing process. Always use a new razor.
Step 3: After shaving, rinse the area with cold water and dry the area with a clean paper towel. Shaving is an important process as it removes any dead cells. Thus, the artist gets a clean canvas to work on.
Step 4: Now, you need to sterilize the shaved skin area. For this, you should use antiseptic wipes or surgical scrub. This will help to reduce the risk of infection and also the number of underlying bacteria on the skin.
Step 5: Apply a portion of glycerine, petroleum jelly, or lotion, whichever works for you, to the selected area. But don’t wet the skin too much, just enough to remove the stencil later.
Step 6: A common mistake when tattooing with stencils is not applying enough antiseptic soap. A thin layer of soap should cover the selected area of the skin. But don’t get too much soap or the stencil won’t transfer.
You may use a cotton ball or a Q-tip if you’re confused about the right amount of soap. Just dip the Q-tip or cotton ball into the antiseptic soap. Now, apply it to the selected skin area. A thin layer will form.
Beware of yellow skin around tattoos as a symptom of infection. So, clean carefully as it is a medical procedure.
Problem 2: Stencil Transfer Solution Issue
There are various kinds of stencil paper used in the tattoo stencil process. It is necessary to apply some stencil transfer solutions to the skin area before you can transfer the tattoo stencil.
A proper and right amount of stencil transfer solution should be applied. If not, the tattoo stencil won’t transfer to the skin.
Reason
- The tattoo stencil transfer solution may dry off too quickly. It depends on the skin, the proper solution material, and the amount of the solution.
- The solution might also get too wet on moisturized skin depending on the amount.
Solution
1. Use proper tattoo stencil transfer solutions based on the skin’s moisture and thickness. Some of the best tattoo stencil transfer solutions are Stencil Stuff, Speedstick, or Dettol.
| Product Name | Feature |
| Stencil Stuff 8 oz | 100% non-toxic, vegan-friendly, and safe on most skin types. |
| Speed Stick | Includes guard applicator for comfort and control. |
| Dettol Anti Bacterial | Refreshing citrus freshness sensation, abundant foam, and skin moisture awake. Healthy and fresh skinpH-balanced formula with reliable protection. |
Use these solutions before transferring the stencil. These are inexpensive and range from $10-$30.
2. For oily or sweaty skin, you can use hand sanitizer, glycerine, or petroleum jelly so that the stencil adheres to the skin. Oily or sweaty skin resists the stencil.
Using these solutions enables protection between the skin and the adhesive. Thus, the stencil does not rub off.
3. For very dry skin, always moisturize with transfer lotion. Vaseline or A&D Ointment might be a good choice for you. After applying the moisturizer solution, let it dry for 10 more minutes. Then, place the stencil.
4. You can also make your own tattoo stencil transfer solution as well.
Problem 3: Stencil Paper Issue
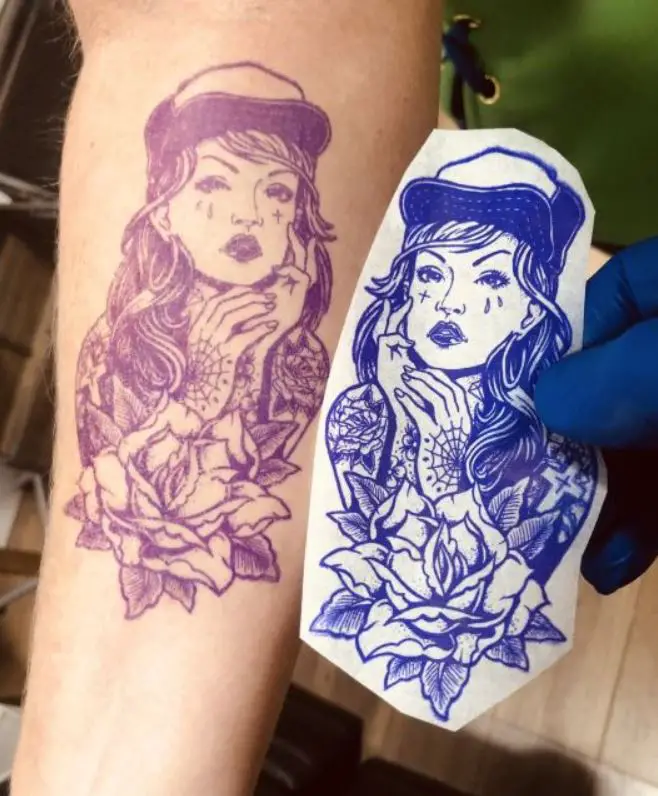
The stencil paper is the tool that is used for transferring the design to the skin. First, you draw the design on stencil paper. Then it is placed on the skin to transfer the drawing from the paper to the skin.
There are two most popular types of stencil papers such as thermal transfer papers and hectographs or freehand. Let’s see why they won’t transfer.
Reason
- The wrong use of stencil papers will result in failure in transferring the tattoo to the skin.
- If the stencil paper is too thin, the ink will bleed and the design will get ruined.
- Again, too-thick stencil paper will not adhere to the skin as you want it to.
Solution
Use stencil paper that is not too thick nor too thin. A medium-size paper will result in comfortable inking and design. Let’s see how to use the stencil paper.
Step 1: Use high-quality and medium-size stencil paper for smooth design transfer.
Step 2: Use antiseptic soap and apply only a small amount to the skin. Not too much, not too little, just a thin layer.
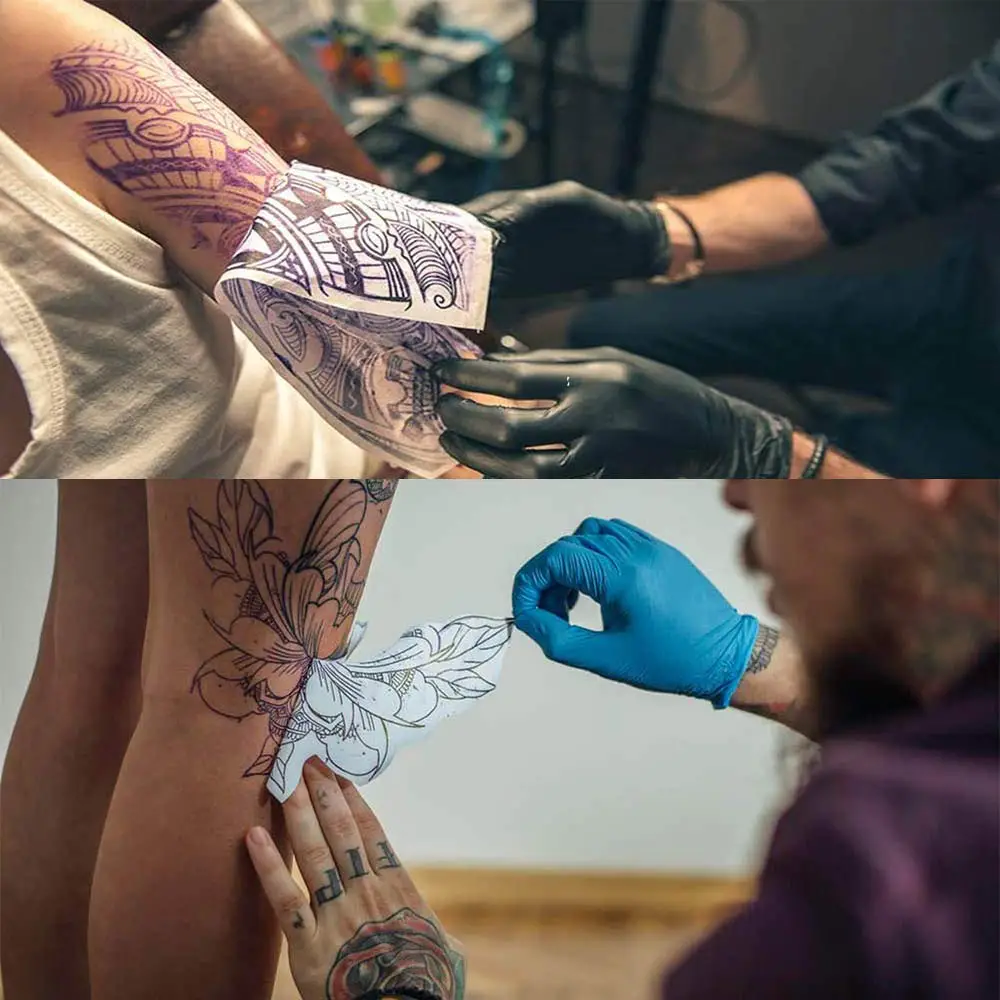
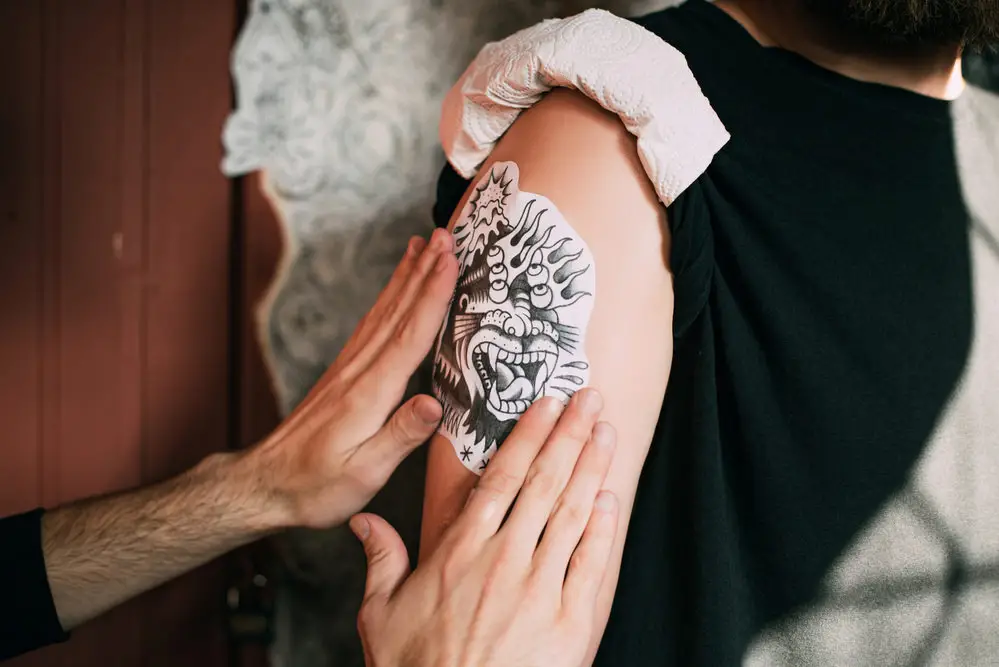
Step 3: Using a paper towel, press the stencil paper firmly on the selected skin area. Make sure that you use a paper towel to prevent the stencil from being wet.
Step 4: Use Vaseline glycerine or hand sanitizer to coat the stencil.
Step 5: Trace the stencil tattoo on the skin. Use a marker or pen to trace around.
Step 6: After tracing, blot the ink away with a paper towel. Do not rub it as it will make the tattoo blurry.
Step 7: Let the stencil dry completely. It might be a few minutes or maybe an hour. This depends on the tattoo size and the stencil’s thickness.
Step 8: After the stencil is dried completely, peel it off slowly. There you have your stencil tattoo.
Problem 4: Material Type Issue
When it comes to creating precise and impressive tattoo designs, a crucial step in the process is transferring the design onto the client’s skin using a stencil.
However, the quality of the materials used for this transfer can significantly impact the final result. Below are some key issues that can arise due to the use of low-quality or incorrect materials.
Reason
- Poor ink retention leads to faint or incomplete design transfer. Details and accuracy of the design are compromised because of it.
- Ineffective activation of ink results in blurry or smudged stencils. It is challenging to execute precise tattoo work due to compromised stencil quality.
- Uneven ink transfers onto the skin. Difficulty in adhering to ink properly causes broken stencil lines.
Solution
Some points for optimal tattoo stencil quality are given below.
- Use specialized tattoo stencil paper for effective ink retention.
- Ensure clear and accurate design transfer onto the skin.
- Choose reputable transfer solutions within the recommended shelf life.
- Enable proper activation of ink, resulting in well-defined stencils.
- Invest in high-quality equipment for consistent ink transfer.
- Achieve uniform stencil lines for easier tattoo replication.
By prioritizing the use of quality materials and solutions, you can enhance your artistry and provide superior service to clients.
Problem 5: Application Technique Issue
Improper placement or application can lead to various issues and problems in different contexts. This is true for tattoo stencils, fertilizer, support devices, and special education as well. If you don’t, you may have problems.
Understanding the causes of these problems and implementing appropriate solutions can help prevent these problems.
Reason
- Rough, scarred, or uneven skin texture can affect the transfer of the stencil. The stencil may not adhere uniformly, leading to gaps or distortions in the design.
- The stencil is not straight or centered. Placing the stencil in the wrong position or at an angle can cause the design to appear distorted or misaligned.
Solution
You can fix these problems by following some steps.
Step 1: Clean and dry the skin well before putting the stencil on it. Use soap and water to wash off any oil, lotion, or dead skin. This will help the stencil stick better.
Step 2: Make the skin smooth before putting the stencil on it. Use a scrub or a brush to remove any rough or dead skin. Use a moisturizer to make the skin soft and ready for the stencil.
Step 3: Put the stencil in the right place and direction before transferring it. Use a ruler or a tape measure to check the position. Look at the stencil carefully to avoid any twists or bends.
Here is a tutorial for you to visually learn how you may apply a perfect tattoo every time.
Diy Tattoo Stencil Transfer Solution
You can also make your own tattoo stencil transfer solution. It’s not so hard and things you’ll need are right around. So, let’s see how to make your own tattoo stencil transfer solution.
You’ll need:
- Soap
- Water
- Paper towels
- Gloves
- Distilled water
- Bowl
- Green soap
- Funnel
- Autoclave bottle
Step 1: Use warm water and mild soap to wash both of your hands, dry them with paper towels and put sterile gloves on both hands. Nitrile gloves may be a good choice as it removes the risk of latex allergies of clients.
Step 2: Take a disposable bowl and use it for mixing 10 parts of liquid green soap and 1 part distilled water. This mixture will become your desired transfer solution.
Step 3: Sterilize the autoclave bottle to store the solution safely. Sterilize the bottle so that bacteria cannot get through.
Step 4: Now, place the funnel on the autoclave bottle’s neck. Pour the solution from the bow to the bottle through the funnel. Then, screw the bottle.
There you go. Following this you would own a homemade tattoo stencil transfer solution.
The art of tattoo can be learned at any age. So, if you’re thinking of becoming a tattoo artist at 40, these homemade tips will come in handy.
Frequently Asked Questions (FAQs):
How Do You Fix Stencil Mistakes?
Mistakes might happen during tattooing. Use a round brush and dip it in water. Use the brush and excessive water treatment to remove the mistake. If the design is already cured halfway through tattooing, still you can fix it with the round brush and water.
Can I Use Baby Wipes While Tattooing?
Yes, you can. Most tattoo artists use baby wipes to rub off stencil ink as they are gentle and do not cause any irritation. Also, baby wipes are efficient and convenient.
Can I reuse a tattoo stencil?
No, you should use a tattoo stencil only once. If you use it again, the tattoo may look bad as the ink may not stick well. It is better to make a new stencil for each tattoo, so you can get the best result.
Conclusion
So, there you have it. The solution to your query, “Why won’t my tattoo stencil transfer?” Remember to be extra cautious as tattooing is similar to a medical procedure. And practice along, you can be a pro tattoo artist too in time.